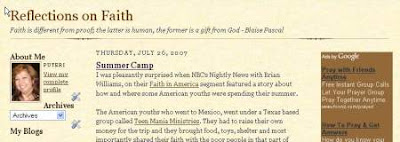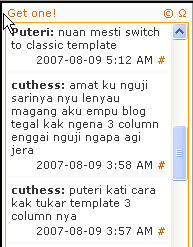
My friend, Cuthess, wants to know how to install a 3 column template on her blog.
She tried doing it, and she must have done something wrong because now her blog has completely disappeared.
The choices of templates offered by Blogspot do not have any with 3 columns. If you don't know any coding, do not even try to edit any of the coding on the updated templates offered by Blogspot.
The easiest way to do it is to revert to the classic template and replace the template code with a 3-column code of your choice.
Here's how you do it. I have a blog where I test the templates on. This is useful because if you do mess things up, there is nothing in the test blog you do not mind losing.
Before you begin the process of switching your blogspot template to a 3 column template, you need to look for a 3 column template, that is compatible with Blogspot. You can find 3 column templates at
The Blogger Workshop, and also at
Gecko and Fly which have templates similar to the Blogspot 2 column templates except that they have 3 columns. Download the one or ones you like, unzip the folder, and save it in a folder somewhere in your computer. Now you are ready.
Log in to your blogspot account and go to the Dashboard. This how it looks like if you have the upgraded blogspot template.

Click on Layout, and this is how it looks like.
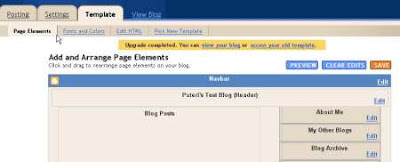
Click on the Template tab. And then click on the Edit HTML option.

You are now on the HTML page. Ok, pay attention to the Backup/Restore Template instruction. This is there for a reason! If you already have something on your blog, then it is wise to download the full template and save it somewhere in your computer, in your document folder, for example.
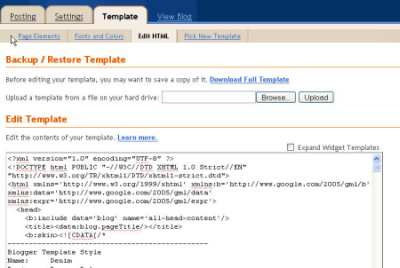
Once you have downloaded and saved your template (i.e. backed it up) scroll down to where you see this. Click Revert to Classic Template.

Click Ok, when this dialog box pops up.
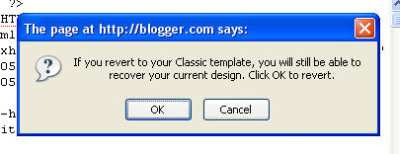
Once you have done that, you are now looking at the HTML page. At this point, open the 3 column file that you have in your computer (remember where you saved it?) using Notepad. This is how mine looks like opened with Notepad. This is the file that I downloaded from
The Blogger Workshop.
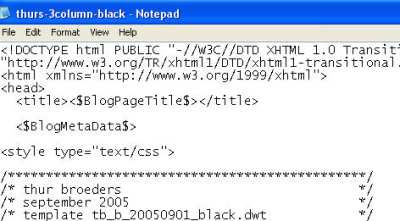
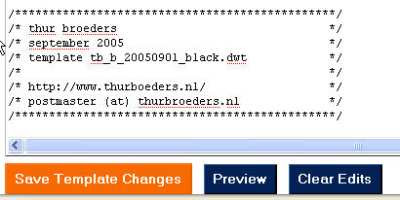
Then you are ready to delete the 2 column code that is on your HTML page (right click, select all, then delete). Once you have done that, right click on your mouse, select all, and copy the 3 column template code and paste it onto the HTML page. Click the Preview button to see how it looks like. If you are satisfied with the look, then click on the Save Template Changes button.
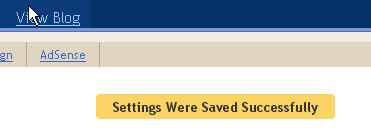
This will tell you that your new settings have been saved. Click on View Blog and you will see the changes on your blog.
What you won't see are the stuff you have added on your blog using the previous template, like your links, or the Mybloglog image etc. But you will see your previous posts, archives, and profile.
Your work is not done. You need to edit the left sidebar and fill it with the stuff you want on that side of the template. For example, a Google Adsense code. Replace the word "Something" with "Sponsored Links" or something like that. Then put in the adsense code between [p] [/p] (it should be < >). Delete the extras you do not need.
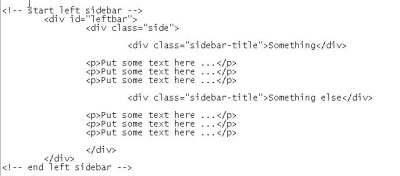
This is where you edit your links. Fill in the url between the "#". Remove # and add the url. Put a name to the link, by replacing "Link 1". You get the idea with the rest.

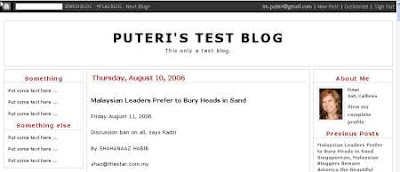
Once you have made all the changes you want on the template, remember to click on Save Template Changes. View your blog. If you think you need to make more changes go back to the HTML page and redo it. Below is a screenshot of my test blog where the left side bar has not been edited.
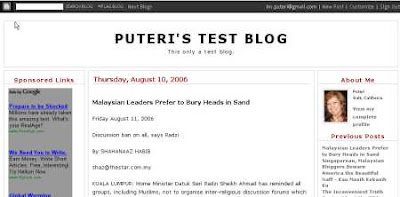
And this is a screenshot of my test blog where the left side bar has google adsense added to it.
REMEMBER, if you messed up this HTML page, you can always copy paste the code from your file onto the HTML page, and re-do it.
If you find other 3 column templates that you like better, you now know how to go about it! Just repeat the process.
~~~~~~ ****~~~~~~
However, if you feel up to experimenting with the code,
Tips for Bloggers is a wonderful site to help you along. I don't know any code but I can follow clear instructions! :-) You can find instructions on how to change or add to the code of a few of the more popular Blogspot templates into a 3 column template. Changing and adding to the existing code is a good way to make your template into a 3 column template because you get to keep all the widgets which make editing the look of your template so easy.
Here are three screenshots of my blogs. Two of them use the minima template. The other uses the Script template.


